

Filters/Workflow
During the creation of a Form you can set specific fields to be
- Searchable - The field will be usable to search on your Form on the 'Advanced search' screen
- Show in basic search - The field will be searchable on the 'Basic search' screen. Use this in combination with 'Searchable'
- Show in search results - The field will be shown in the search results
You can create Filters with the search fields. With these filters you can create a Workflow to get automated messages when a document has a specific status or to send email when specific criteria is met.
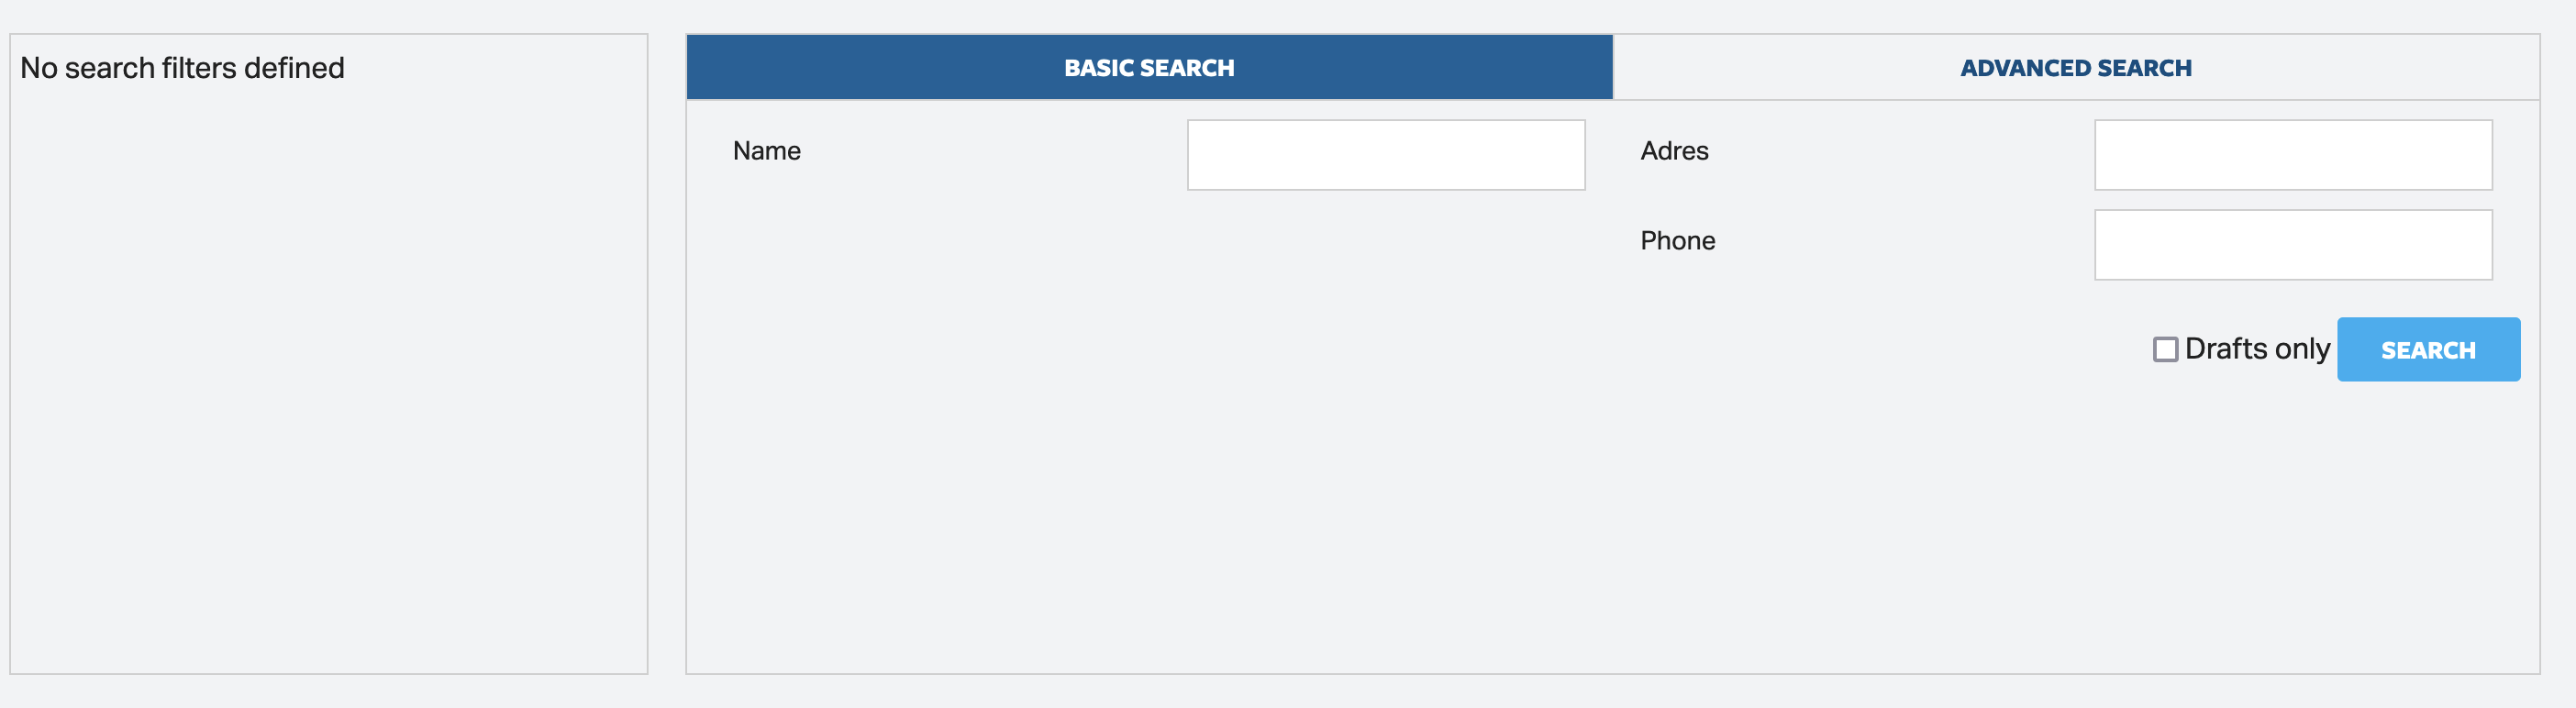
The option Searchable and Show in basic search will make a field visible in the "Search" box on your Form
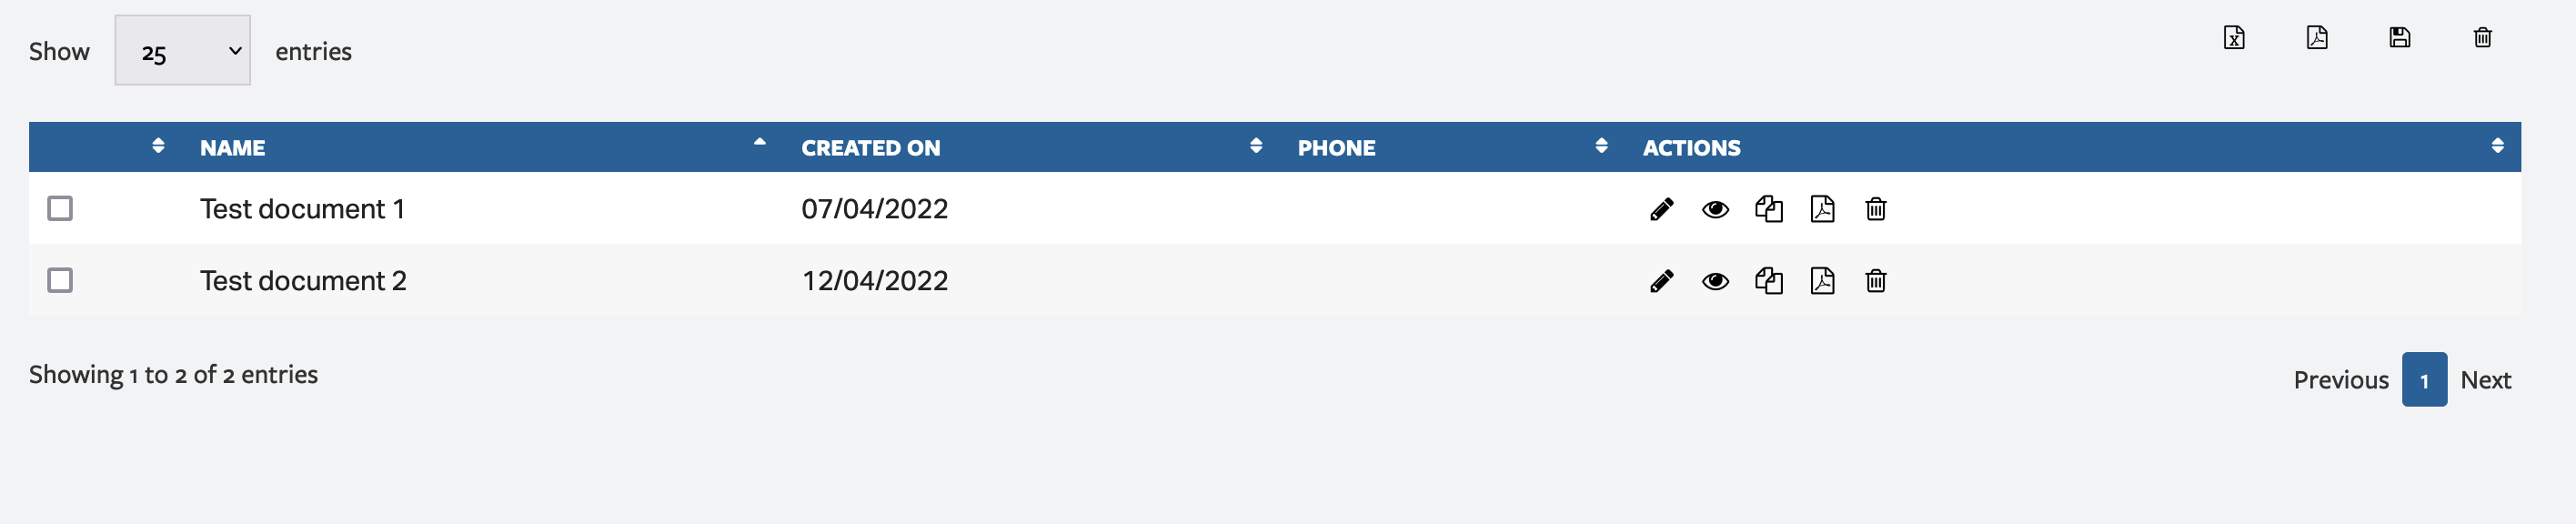
The option Show in search results will show the specific field in the overview section of your search results.
Creating a filter
- Click on Advanced search
- Enter your search criteria (eg. Status equals delivered)
- Click on Submit criteria
- Documents containing the search parameters will be shown in the Search overview.
- Click on the disk icon to save the filter
- Fill in the relevant options
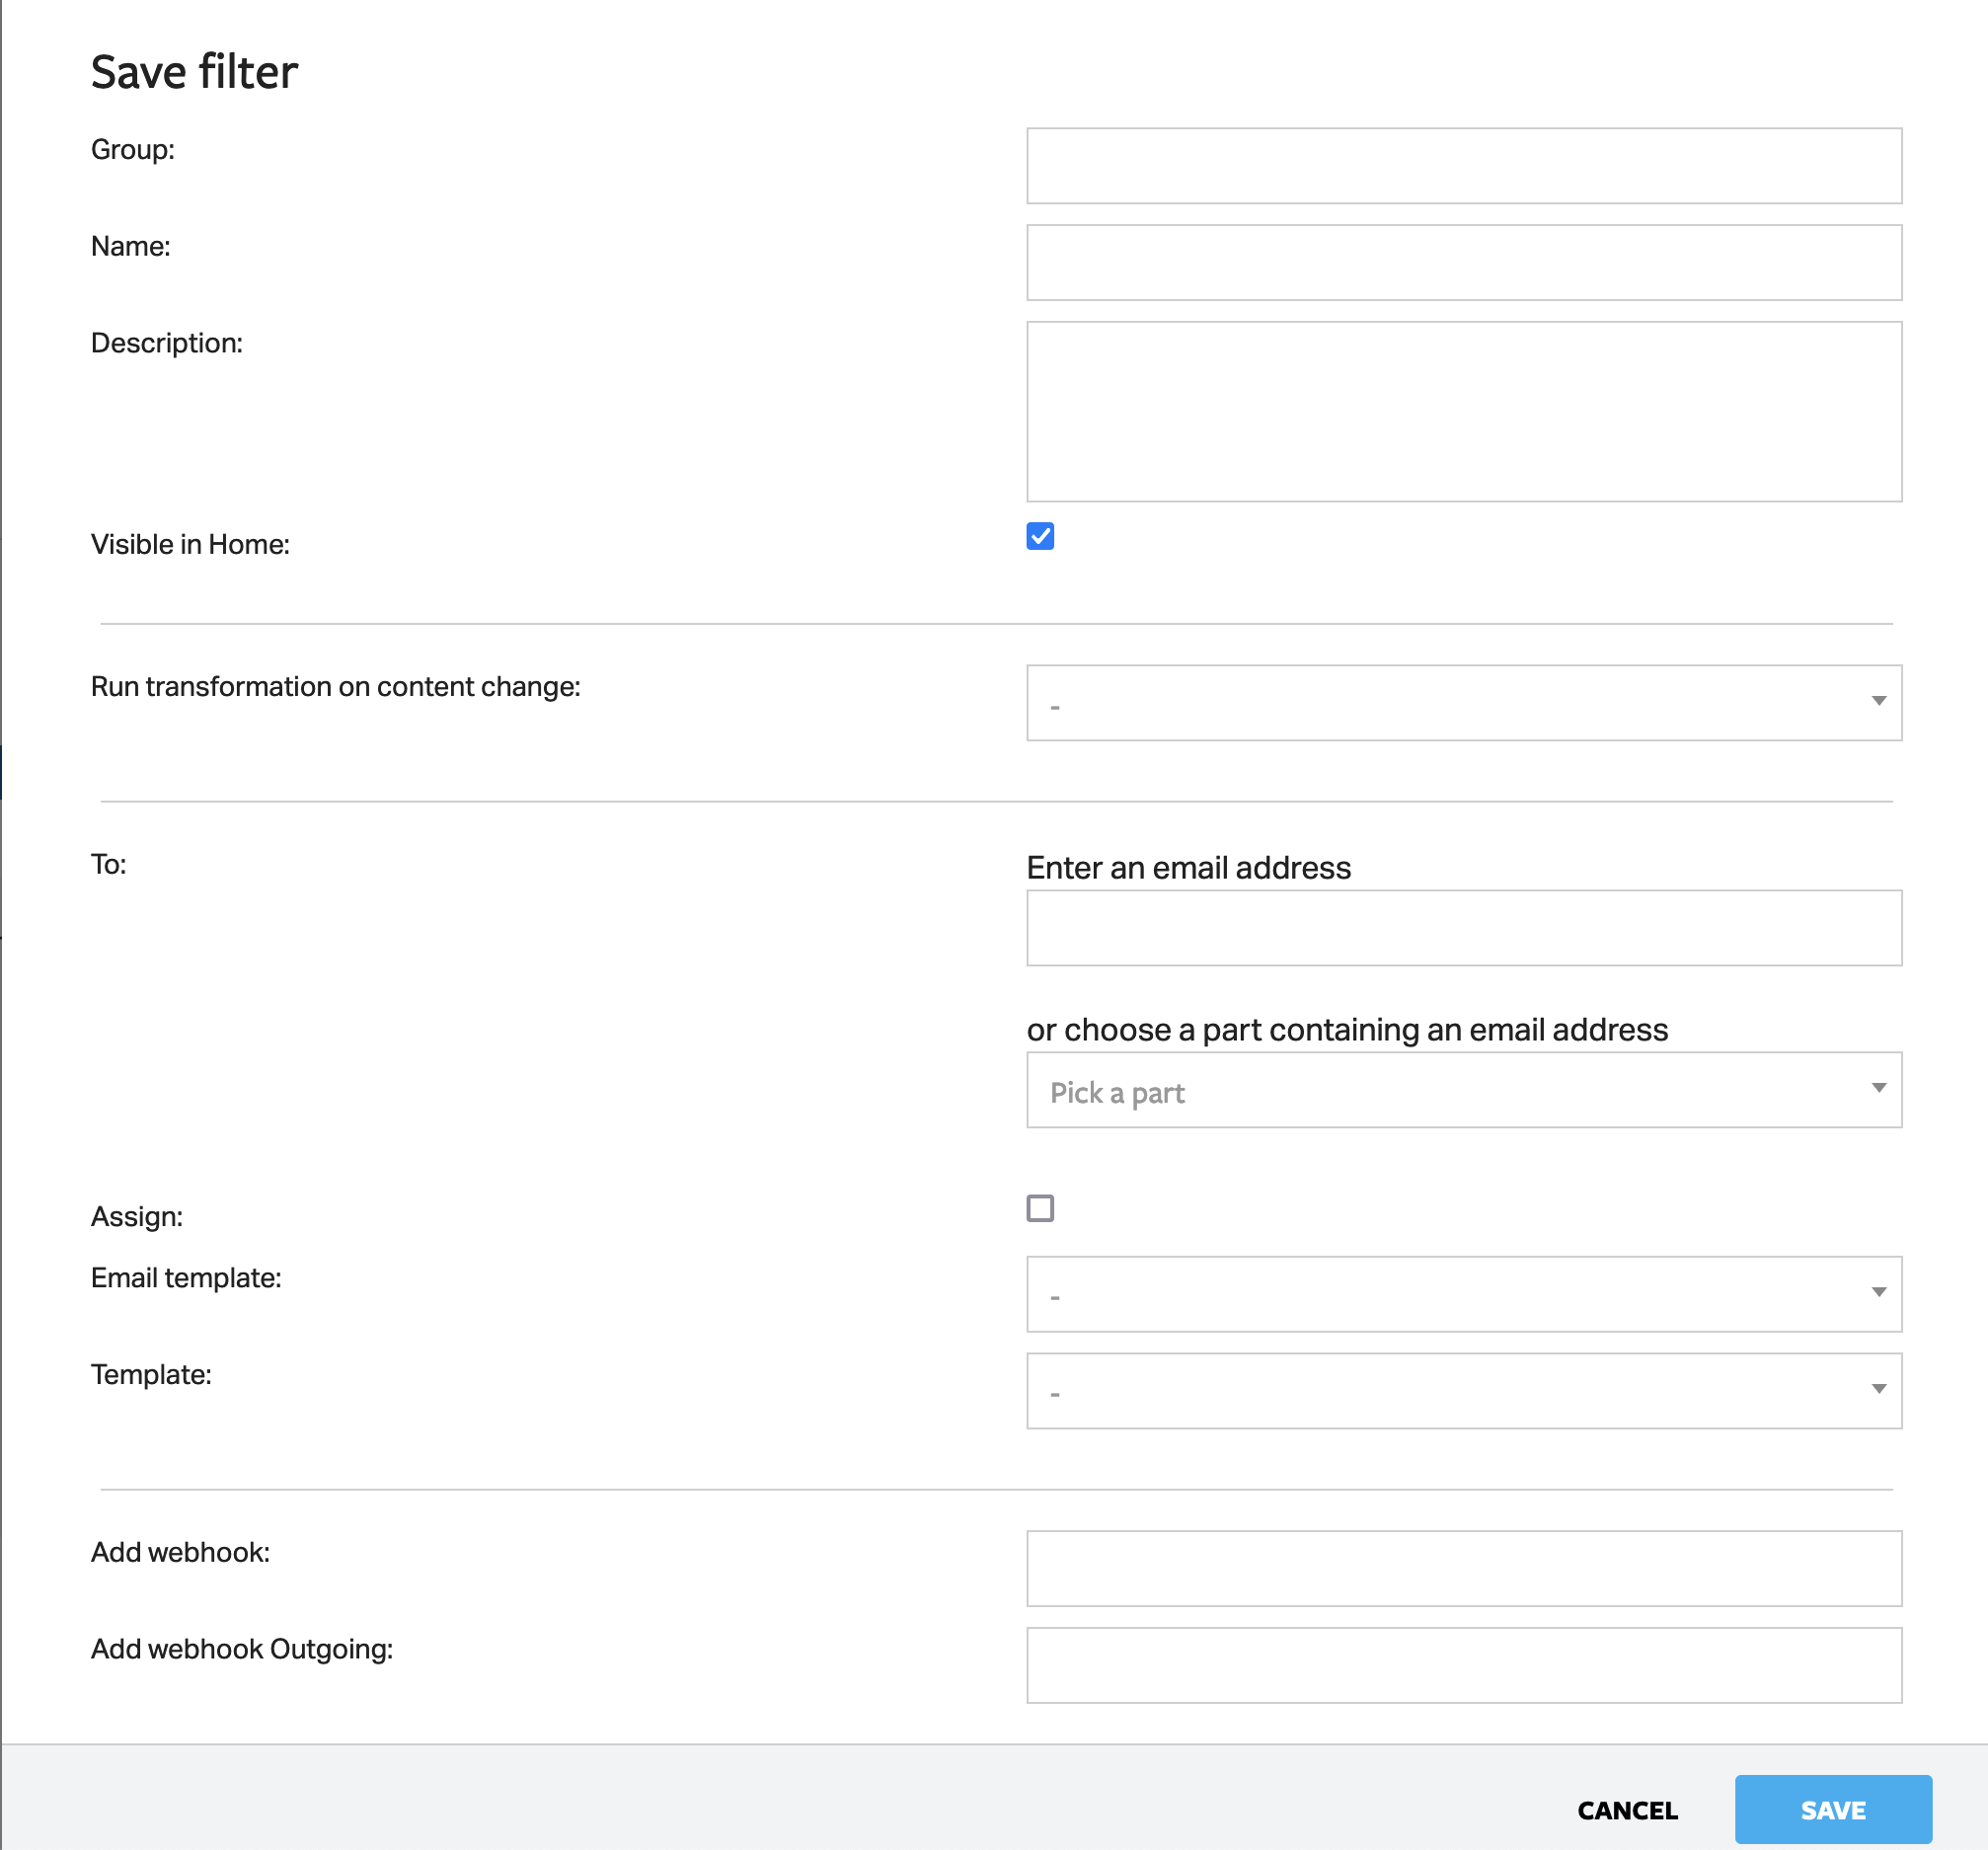
- Group - You can give a label to a group of Filters. Type in a Groupname. Make sure that you always type the Groupname correctly when you want to save a filter under a specific group.
- Name - Name of the filter eg. Sent - Follow up
- Description - Fill in if necessary
- Visible in Home - This filter will be visible on Form tile on Home screen
- Run transformation on change - You can use this option to trigger an action when the criteria for this filter is met. For this to work you first have to set up a Transformation.
- To - You can set up a filter to automatically sent an e-mail to the client/customer. Here you can enter an email address or choose an email field from the Form
- Assign
- Email template - Link a predefined email template to be used.
- Template - Link a predifined template to be sent along as attachment
- Add webhook -
- Add webhook outgoing -
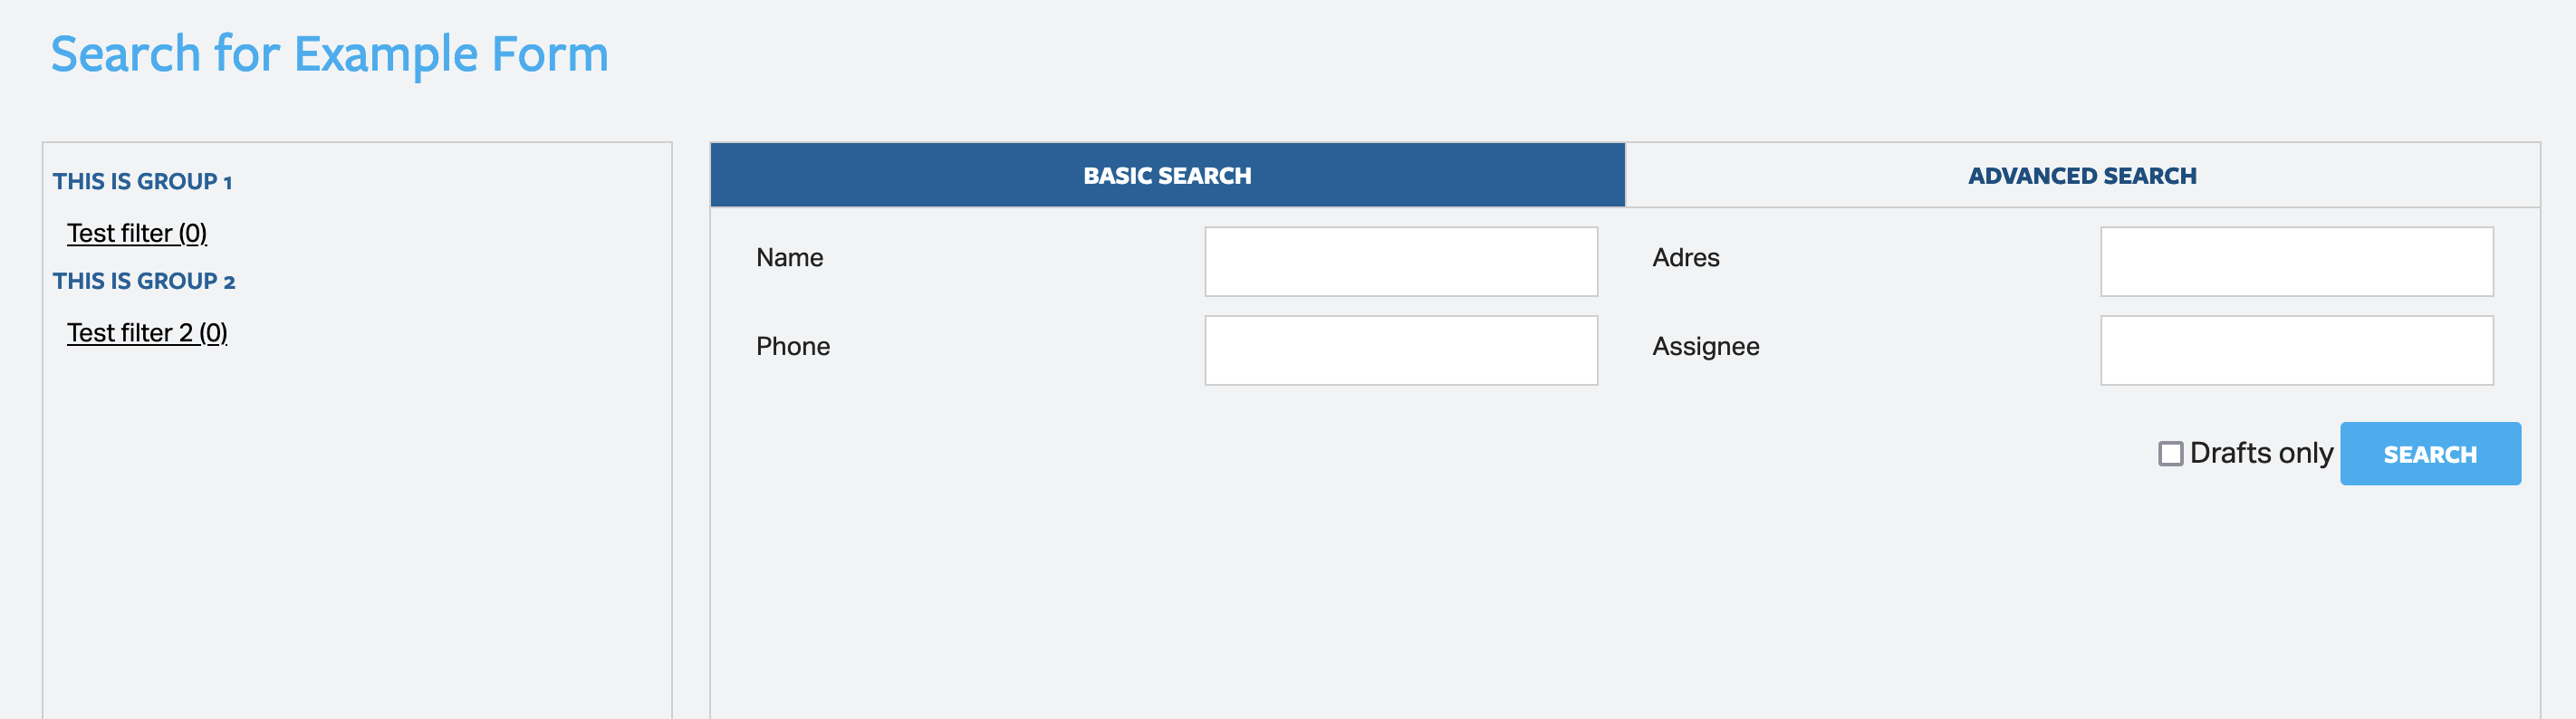
Once you have defined your filters they will be visible in the Filter box on your overview screen and on the Form tile on the Home screen

Viewing and editing Workflow
You can create multiple filters to order a workflow
Click on Workflow to see and edit all the filters you have created

You can edit a Filter, delete a filter or export a filter to a .json file
By clicking on the 'hamburger' icon on the left you can move a filter up or down to order your workflow
Example: Using an email template to send an email when specific criteria is met
In the following example a reminder is sent to an employee to follow up with a client within x amount of days.
-
Click on the specific Form
-
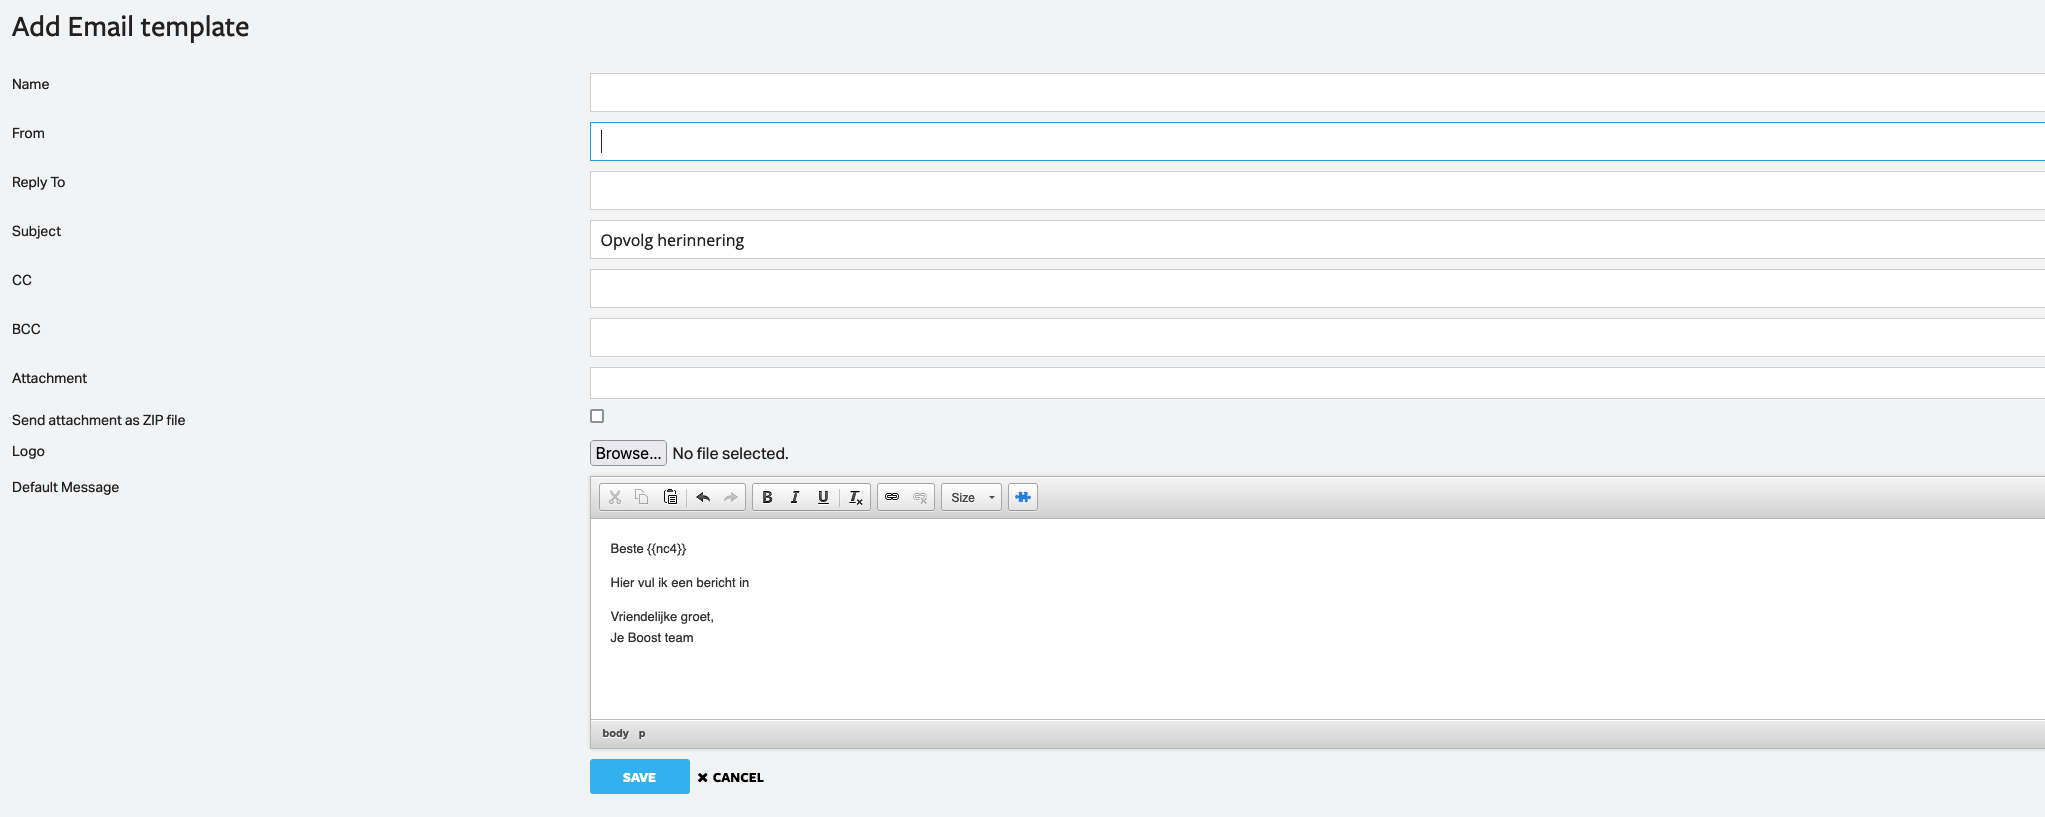
Click on email template and Add template
-
Give you template a name
-
Type the content of your email.
- You can use merge fields from the specific form to personalize your email by using the Merge fields button

- You can use merge fields from the specific form to personalize your email by using the Merge fields button
-
Save your template
-
Go to Workflow
-
Edit the Filter which will serve as trigger to sent the email For this example the filter will contain the following criteria:
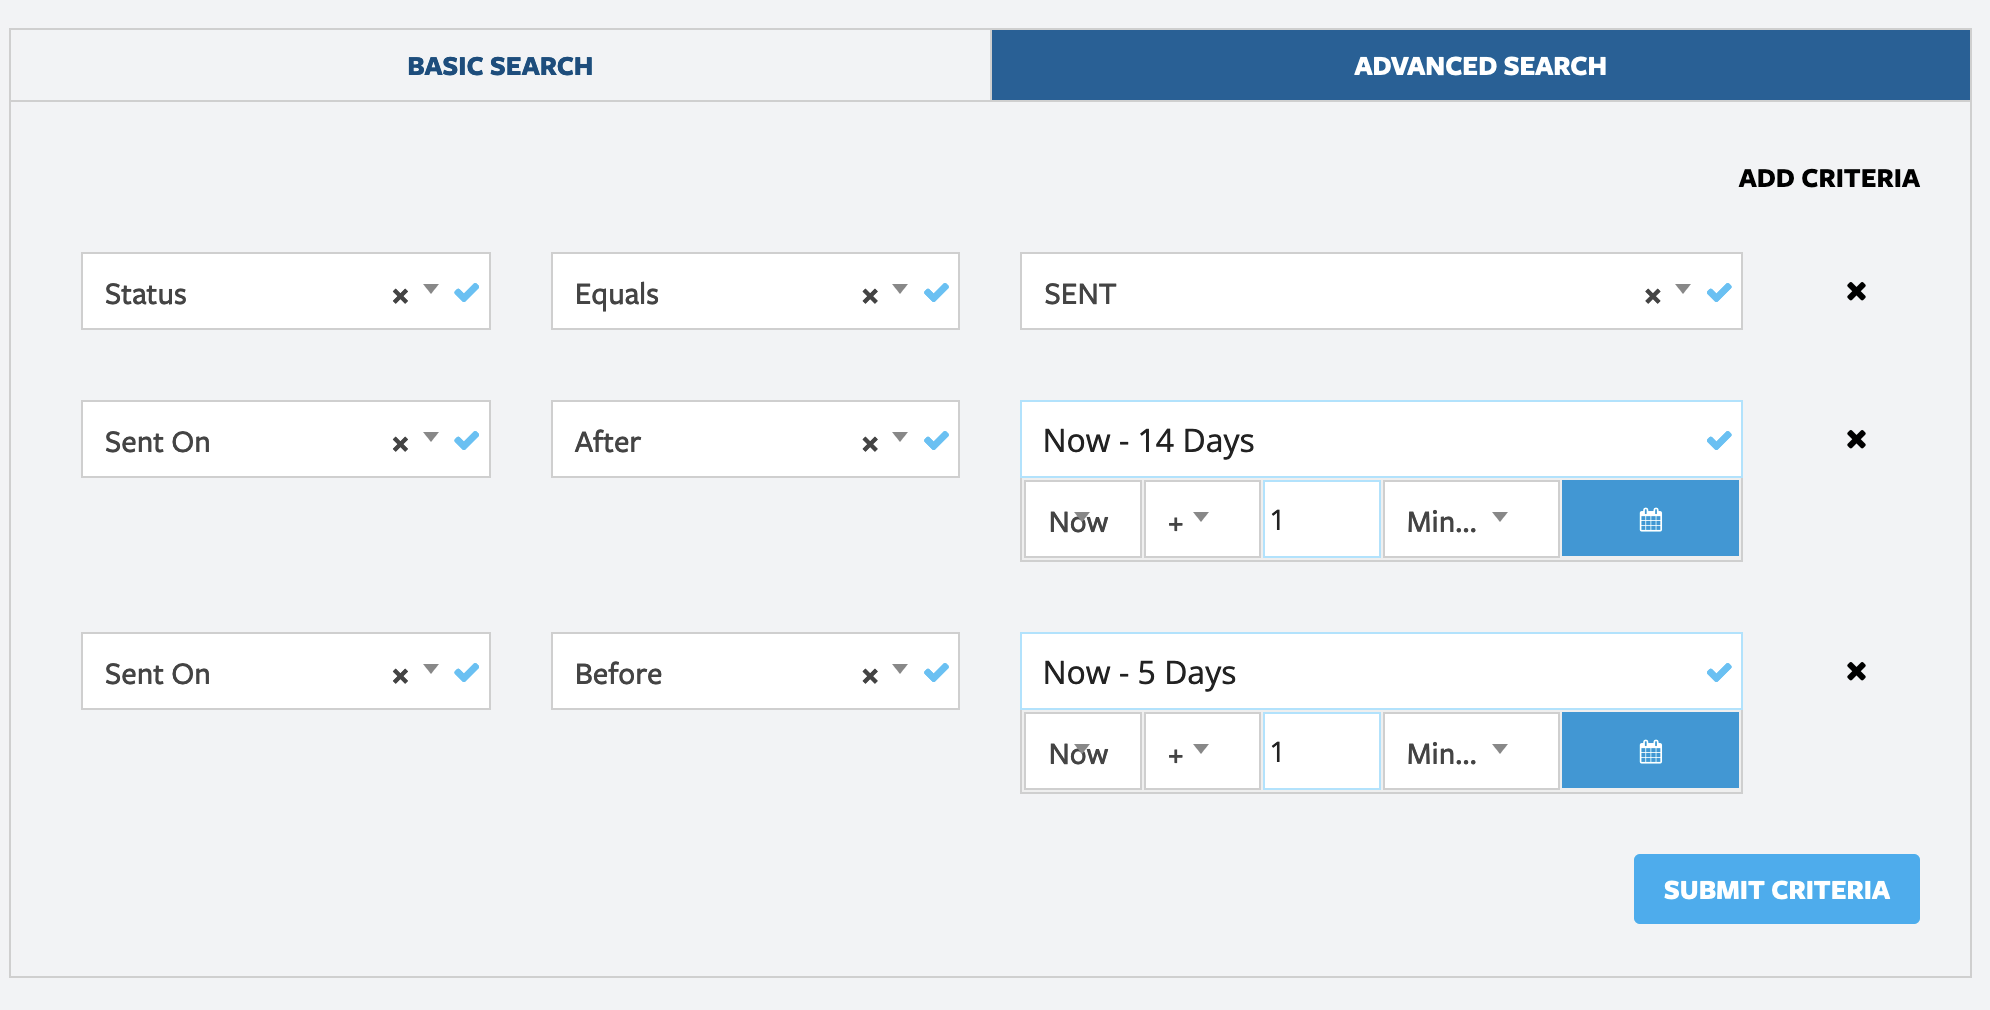
This filter looks at the "Sent" date to determine if the document was sent more than 5 days ago but less then 14 days ago. When that is the case the filter will trigger a reminder mail to be sent
- Fill in the email address - use the email field of the specific form, this way the email goes to a specific person
- Choose the Email template you just made and save your filter
