

Creating a new Form
Click on Documents and Add Form.
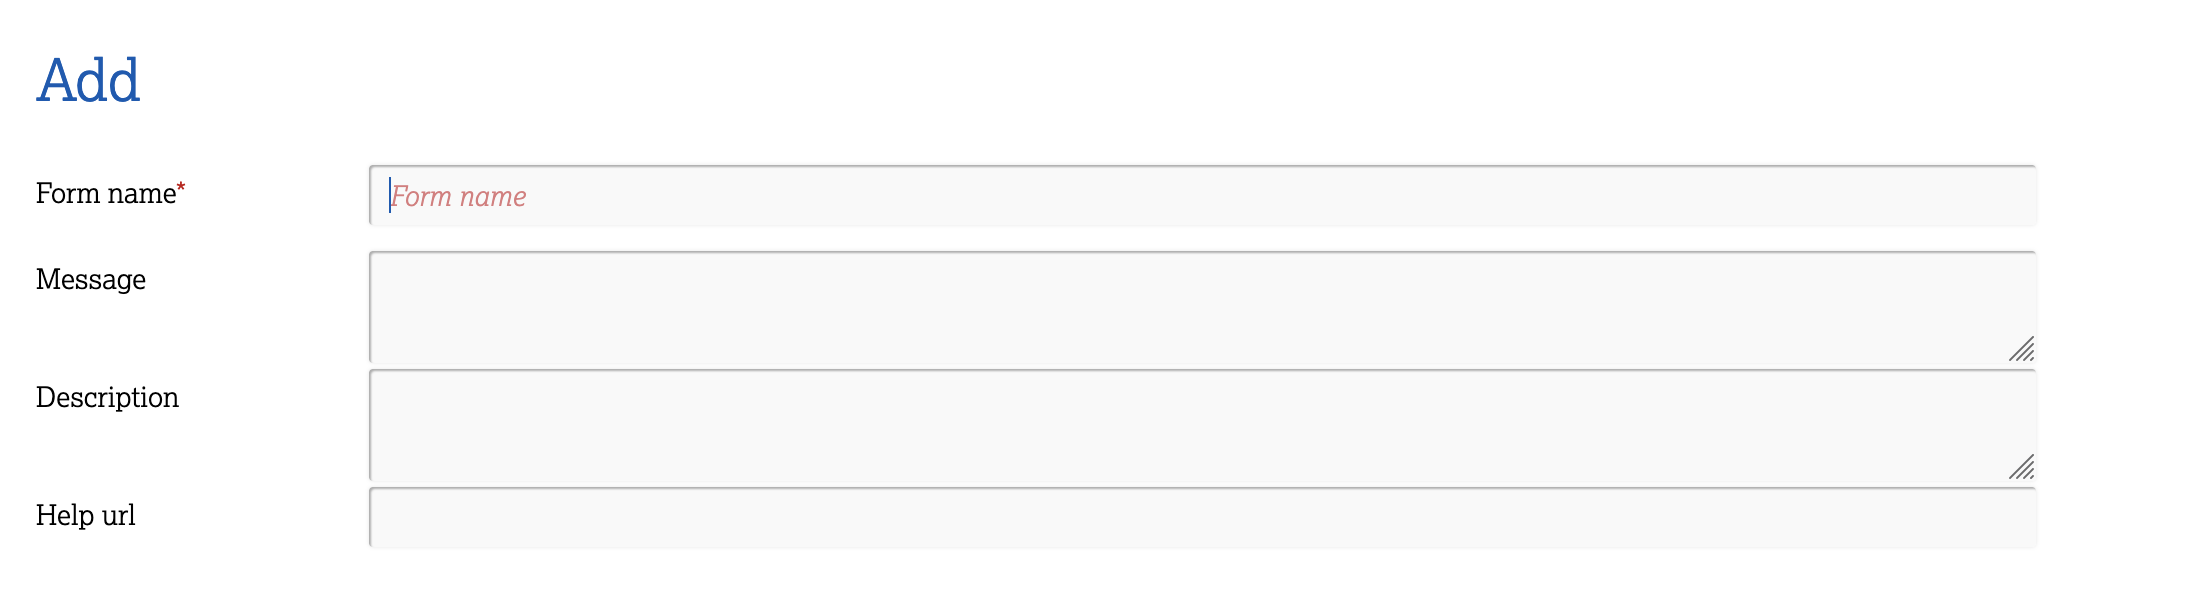
Add a name for your Form (the name will be a reference to the function of the Form)
-
Message - You can add a Message to note information you want the user to see before filling in the Form - this will be visible at the top of a new Form.
-
Description - You can add a decription of the Form - this will be visible with an information icon on the Form tile as well as at the top of a new Form.
-
Help URL - you can add a link to a manual (whether Boost or one you have created yourself)
For now you can scroll down and click on OK.
An empty Form will be created.
On the empty Form you can use the following buttons:

- Collapse / Expand - To collapse or expand the modules on your Form
- Module - Groups fields together under a specific heading
- Assign - Adds an assign module to your Form. This has to be activated if you want to use the Assign button (see 5.7)
- Copy public link - to give someone access to fill in a form without logging into Boost
- Form settings
- Under Form settings you can see all Departments and determine what document rights the departments should have on the particular form.
- Clone Form - Clone a Form if you intent to reuse a lot of fields of an existing Form
- Export Form - You can create Forms in your test environment, export them and import in your production environment
- Audit Log - A log of who changed the Form
- Cancel
- Save
First define your form by adding Modules and Fields.
Once you have defined your Form you can edit the Form settings to determine the access for the different Departments.

To finish your form you can setup the last properties options:
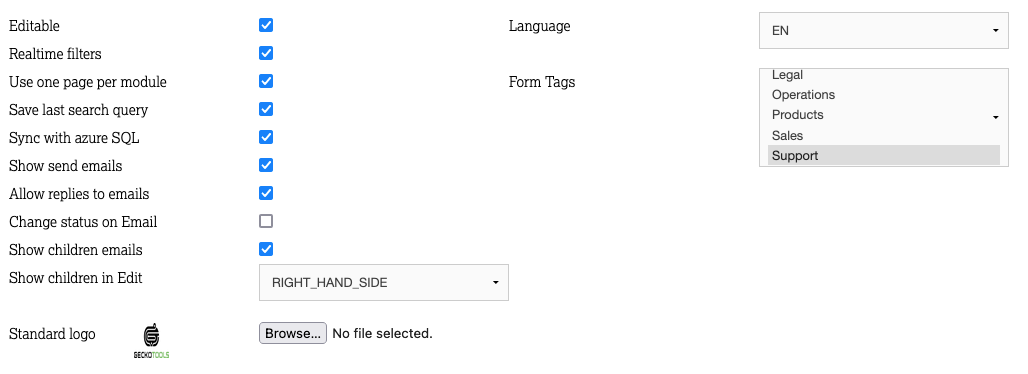
- Editable - To edit a Form, deactivate this option if your Form is linked to external systems for eg. an administration program or you want to protect the form from unwanted changes.
- Realtime filters - When active your filters on the Search overview will update in real-time, otherwise they will update every 15 minutes
- Use one page per module -
- Save last search query - Boost will remember your last search query when you return to the search overview with the Back to search button
- Sync with azure SQL - PowerBI sync to generate reports
- Show sent emails - When you view a document, you will see all the mail that have been sent with regard to this document
- Allow replies to emails - Allows a recipient of an email, sent via Boost to reply to that email. The email will be automatically saved in the specific document in Boost.
This option will activate the option "Change status on Email", which in turn activates- Module name with status
- Part name with status
- Desired status
This can for example be used to get notified when someone replied to an email by updating a status and sending a mail
- Show children emails - This will show emails sent from other Forms which are related to the current Form.
- Show children in Edit - This will show documents of other Forms related to your current document. You can choose to see the documents on the Right hand side or at the Bottom
- Choose a language for your Form - This option determines which decimal sign will be used (. or ,)
- Add a tag to the Form - you can add multiple tags.
Tags
You can add a Tag / multiple Tags to your Form to make filtering the tiles on the Home screen easier
A Tag can be a reference to a Department or Process, for instance "Finance" / "HR" / "Sales"
To create new tags go to the Home screen and select Manage Tags - you can then add a tag and choose a tag colour
Once you have defined your Tags you can choose a Tag on the Form Settings screen
You can select a new logo for your form